Can You Plaster Successfully Yourself For Your DIY Project?
The definition of plastering is the covering of the rough surface of internal walls with a mixture of sand, lime or cement and water to provide a protective or decorative coating. As a task left by many people to the professionals, it is something that with proper preparation, the correct set of tooling and the following of a specific practised method can be completed by the budding motivated amateur. Good plasterers are always in demand, so it may be possible to progress your skills so that you not only save money by plastering your own home but could also make money in the future.
Having The Right Tools
It is important to remember at the outset that plastering is a skill that improves with time and experience; your results will not be the same as a time served professional. To give you the best chance to succeed, you should have the correct set of plastering tools, and these should include –
- Plastering Trowel – pick a stainless-steel trowel that feels comfortable and is evenly weighted.
- Plasterer’s Hawk Board – this holds the plaster while you are using it; both wooden and plastic options are available; choose what you prefer.
- Bucket Trowel – a specific tool used to move wet plaster from the mixing bucket to the hawk board.
- Good Quality Paint Brush – crucial for keeping both your edges clean and the plaster wet.
You will also need some means of mixing plaster. You can mix by hand, but some form of power mixer is recommended, paddle attachments for power drills are a possibility, or you could hire a mixing machine from a hire company. Supplement these tools with plenty of protective sheeting and the appropriate ppe equipment, including hand and eye protection.
The Plastering Process Outlined
Any budding plasterer should utilise the wealth of how-to guides available online; I’ll briefly outline the process so you have some idea of what is involved. The steps to plastering successfully are as follows –
- Preparing The Area & Surfaces – plastering is a messy job; lay plenty of protective sheeting before thoroughly cleaning the walls and removing any loose particles.
- Applying the PVA adhesive is critical to ensure the plaster applies correctly.
- Mixing The Plaster – always follow the manufacturer’s instructions when mixing the plaster and use clean buckets to ensure a smooth end product.
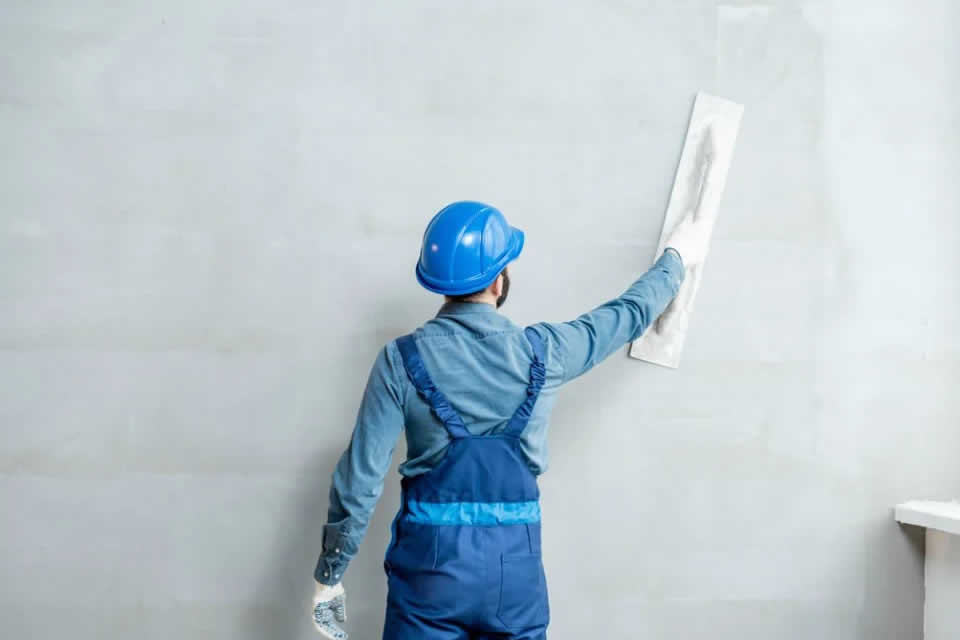
- Application of First Coat – apply in smooth, easy strokes using the paintbrush to keep the plaster wet.
- Second or Finish Coat – after allowing the first coat to dry, apply and finish by smoothing out any imperfections.
I want to stress this is an elementary outline of a more complicated process; please do plenty of further research into each step to better understand the complete task. Once proper drying time has elapsed, the smooth, fresh surface is ready for paint or wallpaper.
Try to start your plastering career with a minor job to give you some valuable early experience; you can move on to larger, more difficult plastering tasks. After a few plastering jobs, if you find that you have some skill, it may be worth attending a short course to expand your skills further.
I hope this information has given you an excellent entry point. If you are thinking of doing some plastering, you never know it might be the start of a new career.